感谢 chriis 的工作,文章写得很好。 但是我在实践的过程中,遇到了一些问题,也辗转最终解决了。我将记录下实践过程,以我的风格。
要求:本地有一个可以跑得通的 Phoenix 应用(不要求必须得用LiveView),并且已经有了可用的身份验证系统(用户系统)
一些创建和配置工作
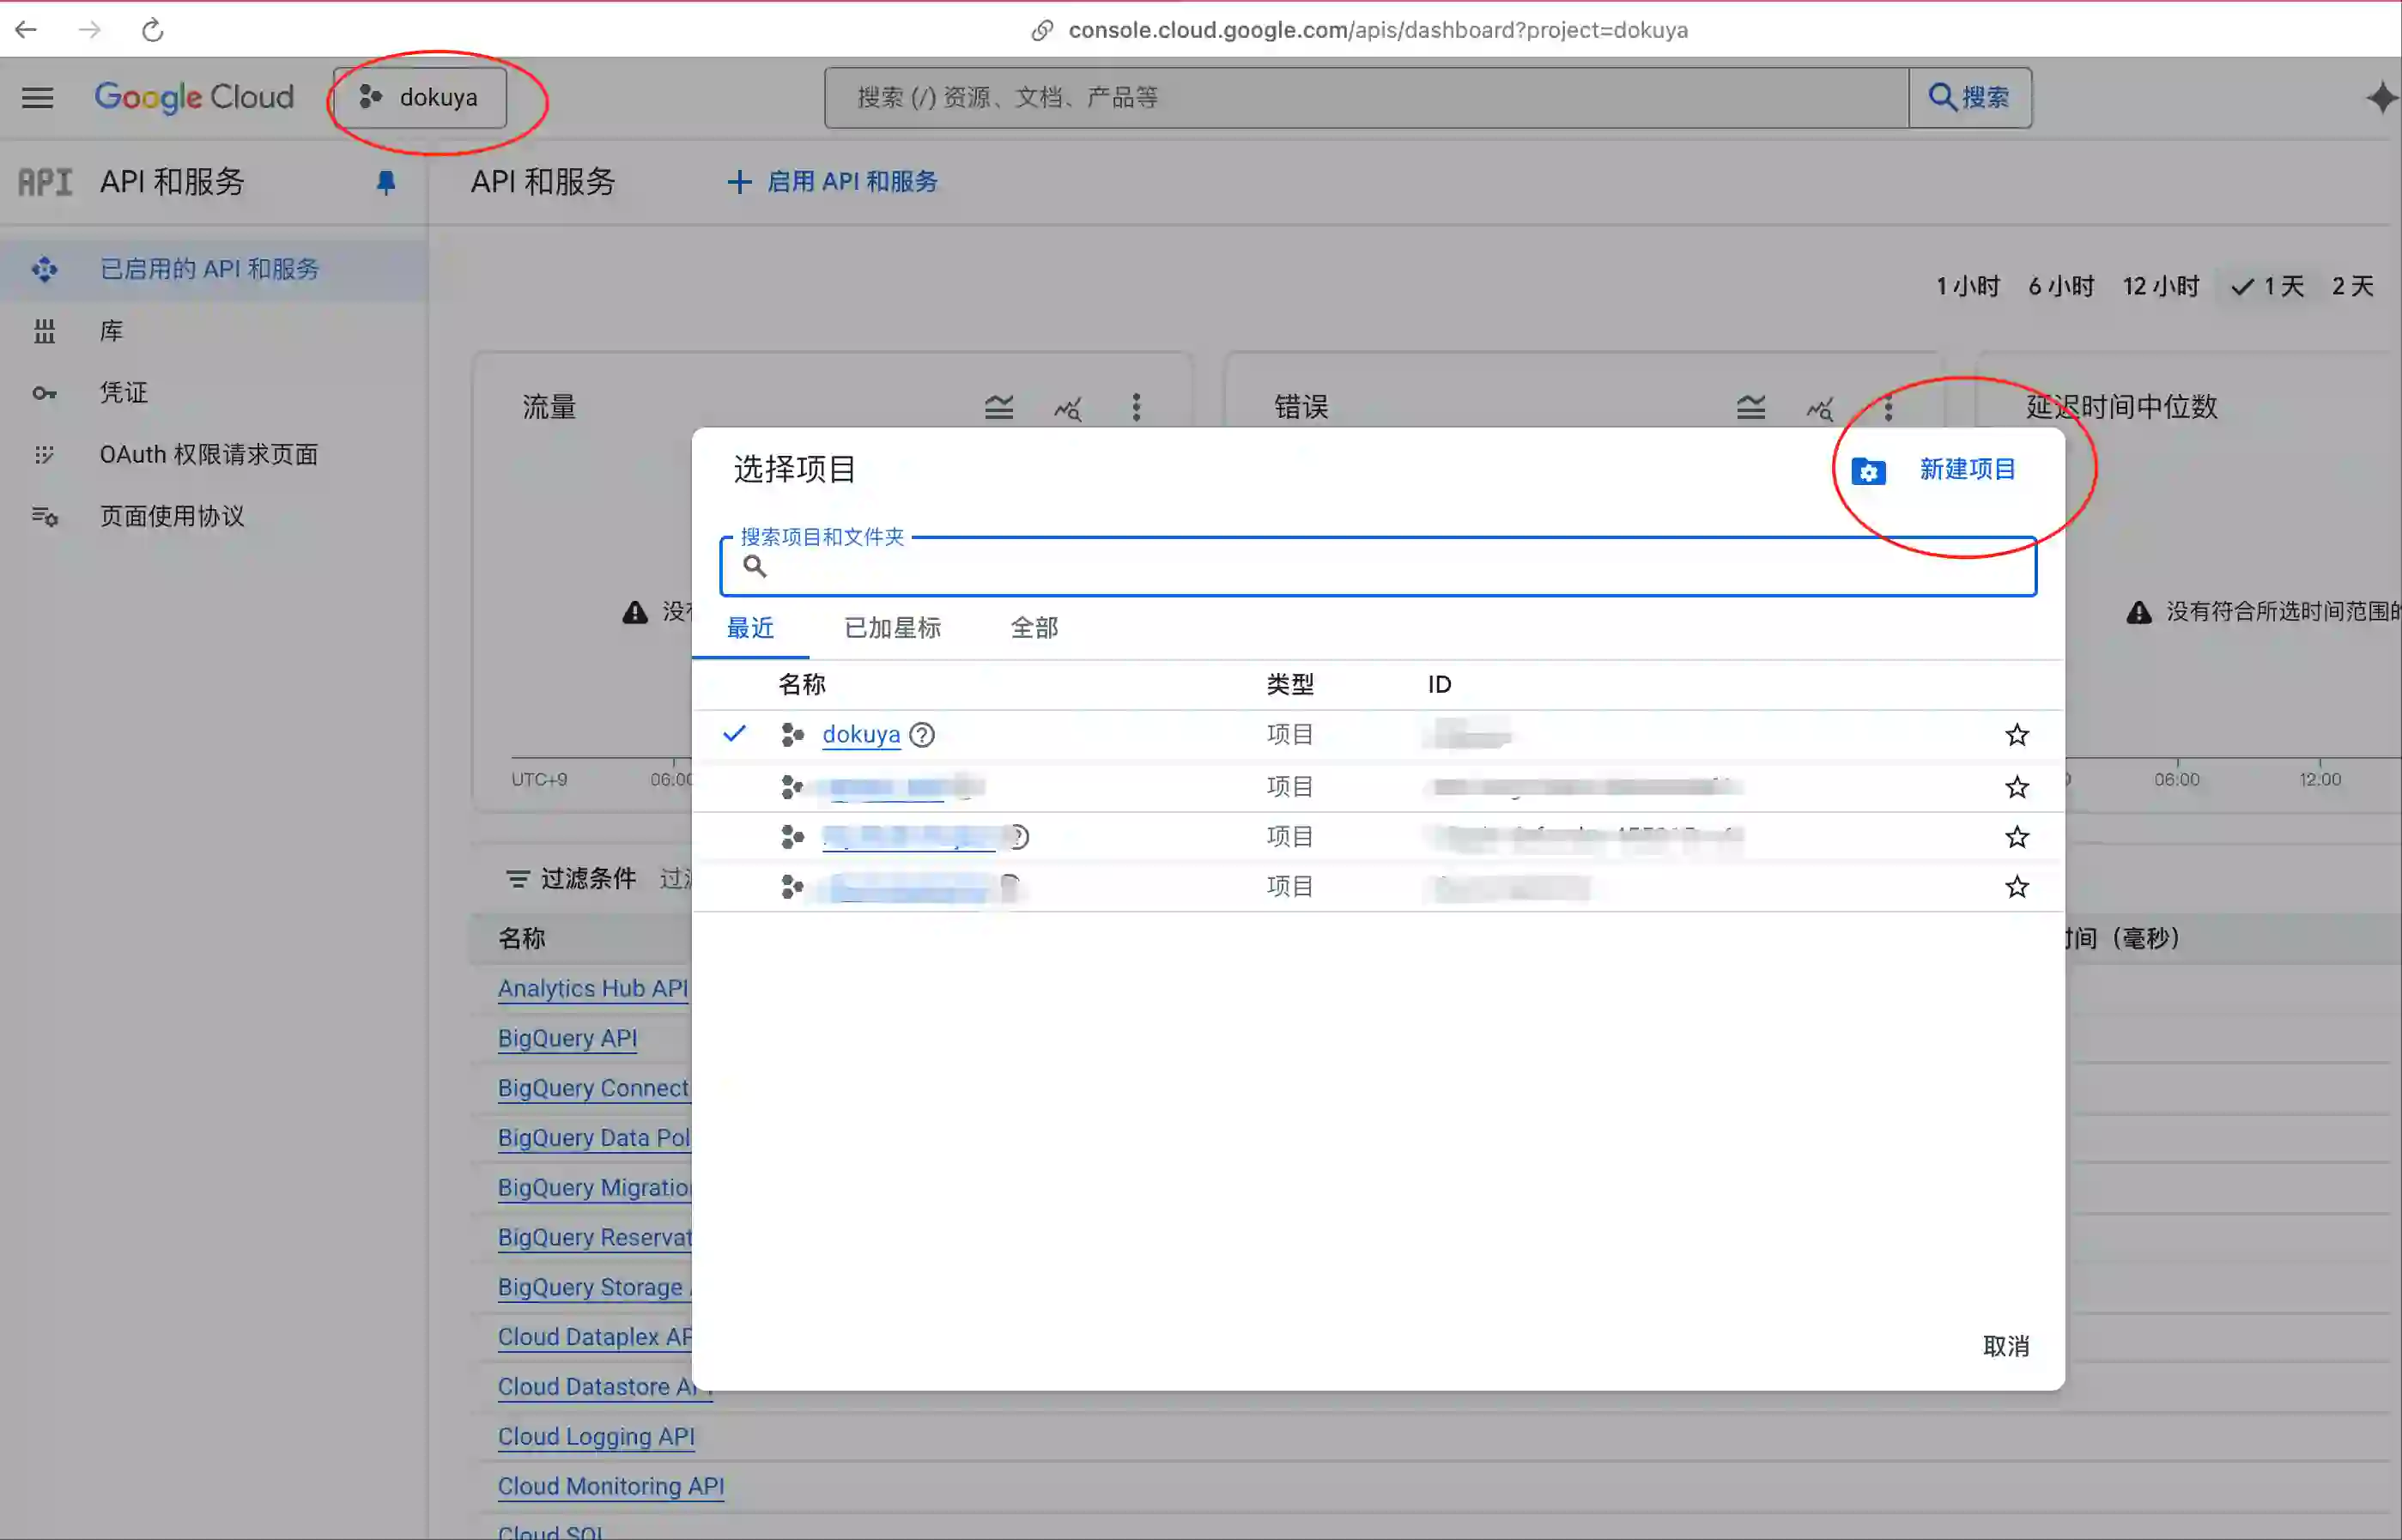
到 Google 开发者后台,创建一个新的项目,或者选择已有项目。
-
点击进入到刚才创建的项目主页
-
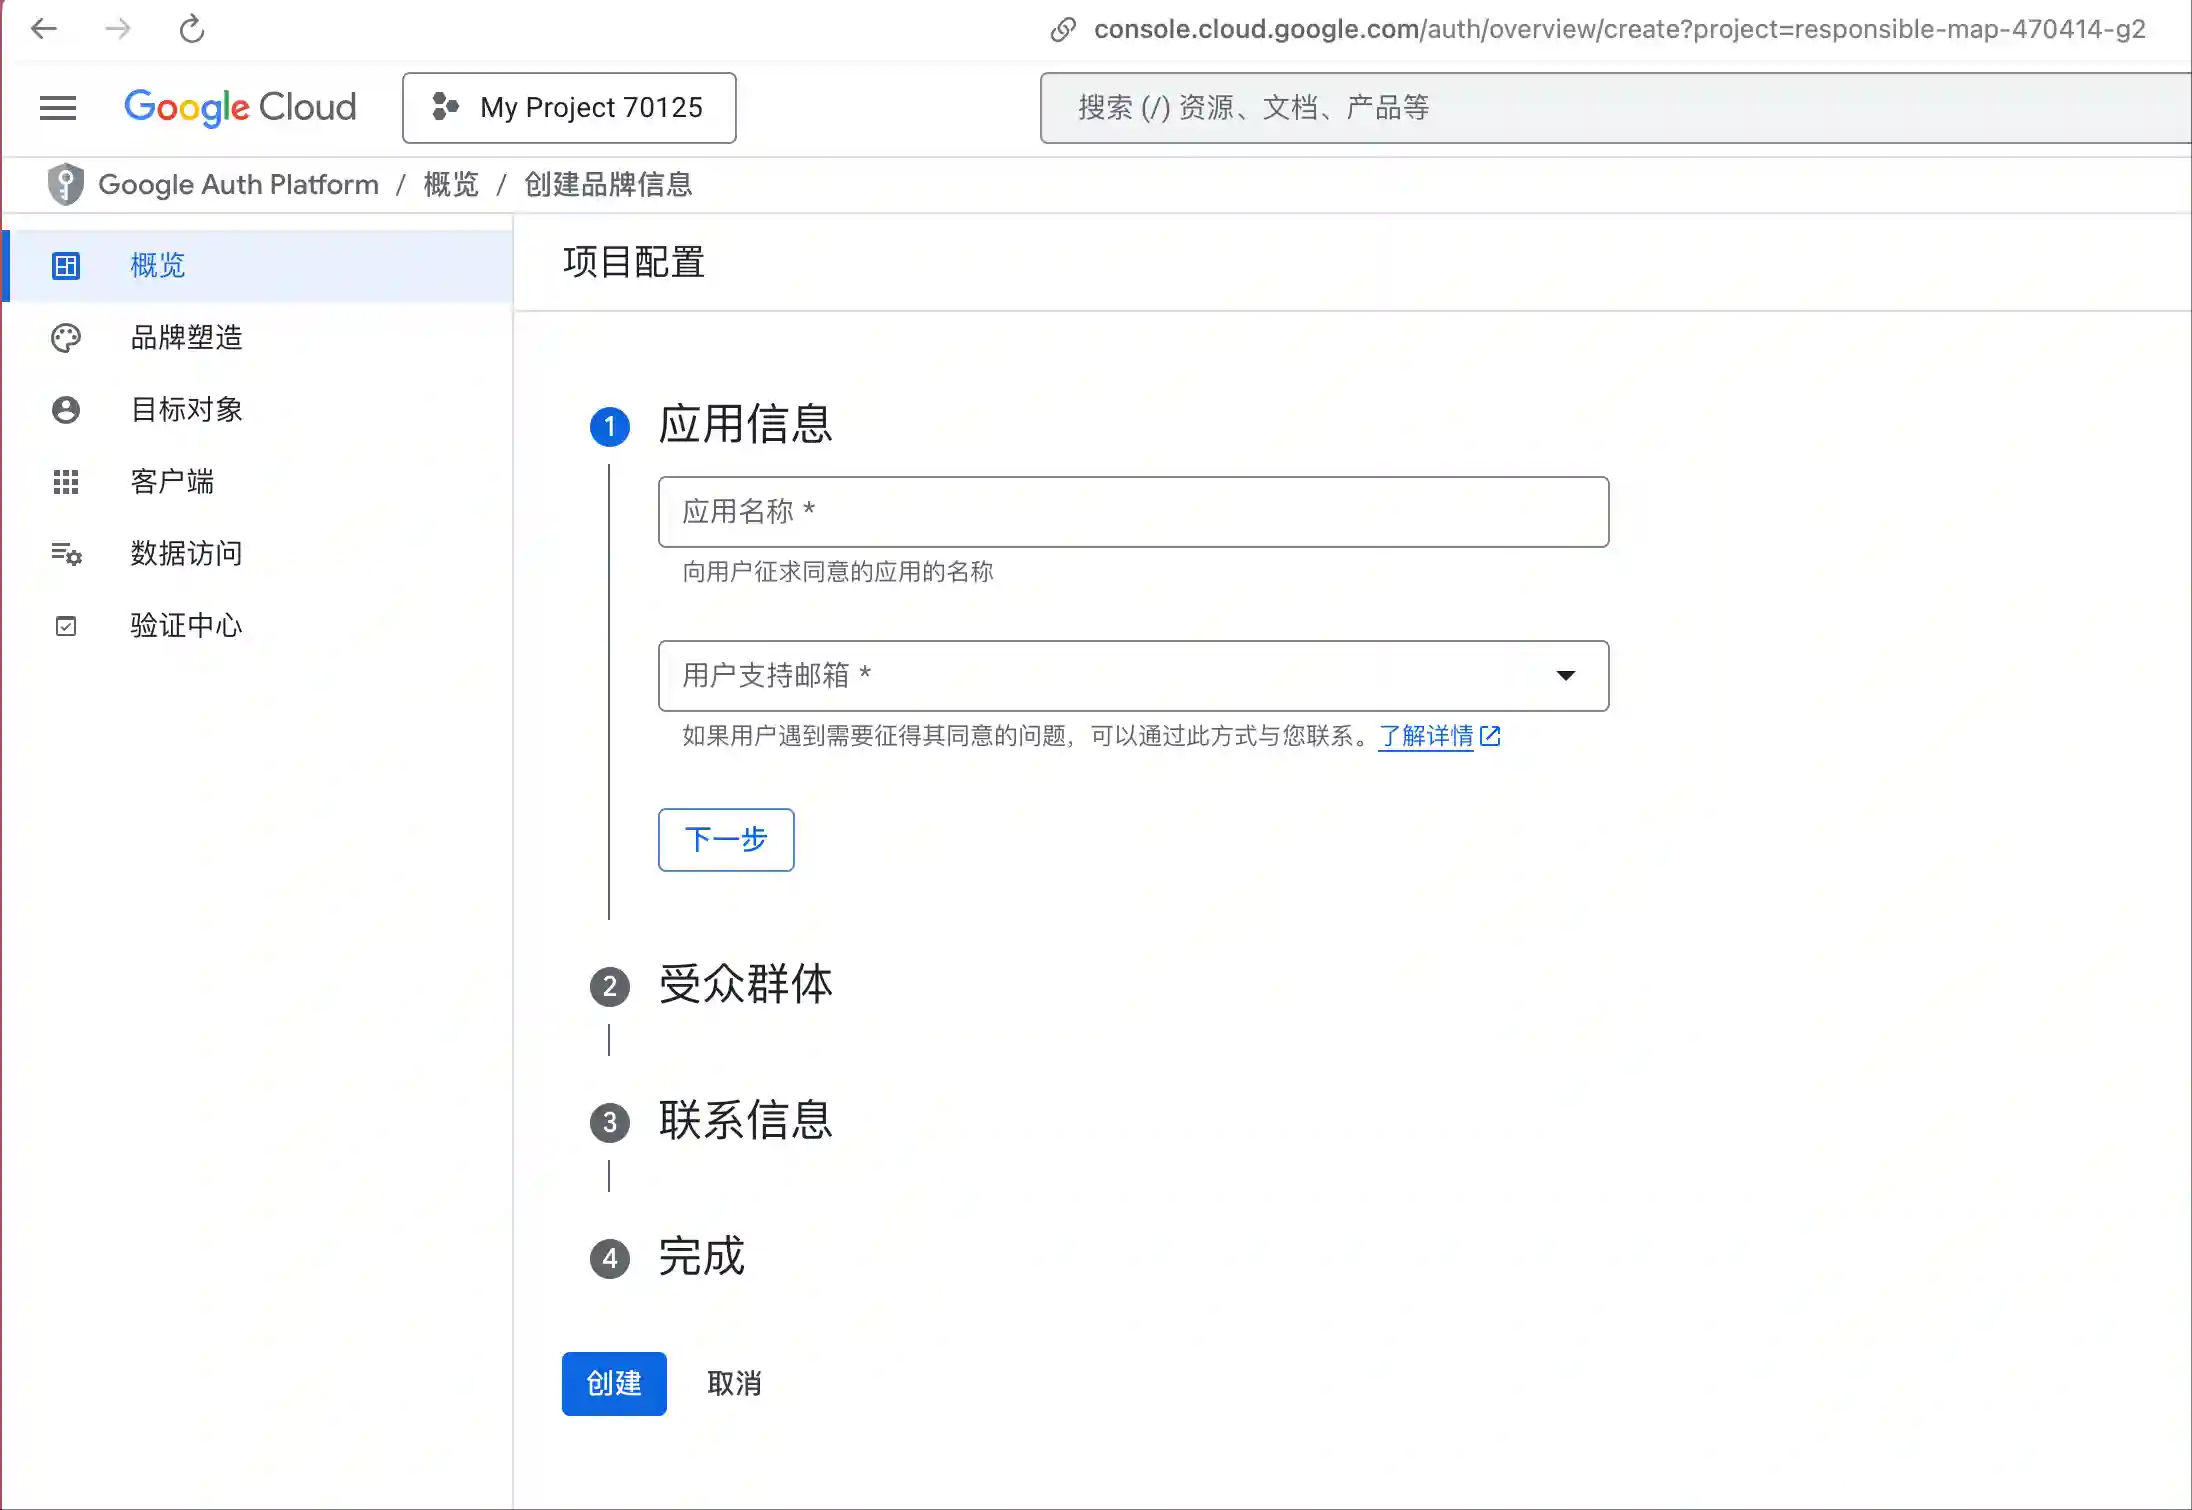
点击左侧菜单栏中的「OAuth 权限请求页面」
-
点击左侧菜单栏中的「菜单」-> 「开始」,进入到创建应用页面,完成基本信息的填写。
-
点击「创建 OAuth 客户端」,填写基本信息。这里有两个重要字段需要填充:

- 「已获授权的 JavaScript 来源」填你项目的测试、生产环境的网址,比如:http://localhost:4000、https://xxxxx.com
- 「已获授权的重定向 URI」填你项目的测试、生产环境的网址加上「/auth/google/callback」(实际上这个路径取决于后面你项目代码中声明的路径),比如:http://localhost:4000/auth/google/callback、https://xxxxx.com/auth/google/callback
- 同时单独保存下该页面上出现的「客户端 ID」和「客户端密钥」(另外找安全的地方保存。一段时间后页面上将不支持保存密钥)
- 点击底部的创建或保存按钮。
复制粘贴一些模板代码
接下来回到 Phoenix 项目中。
# 在 mix.exs 文件中追加
{:ueberauth_google, "~> 0.10.8"}
运行:mix deps.get 下载依赖
- 配置
首先是:config/dev.exs
config :ueberauth, Ueberauth,
  providers: [
    google: {Ueberauth.Strategy.Google, [default_scope: "email profile"]}
  ]
然后是:config/prod.exs
config :ueberauth, Ueberauth,
  providers: [
    google: {Ueberauth.Strategy.Google, [default_scope: "email profile", callback_scheme: "https"]}
  ]
上面这两个的区别是 prod 环境追加了:callback_scheme,unberauth的默认值是 http,正好对应我开发环境是:http://localhost:4000,也对应前面在Google Dashboard的配置。这一点在 chriis 的文章中没有提及,但是必要的,否则会导致 Google 登录失败。
最后是 config/runtime.exs
# 还记得前面让你保存「客户端 ID」和「客户端密钥」吗?
# 到系统环境变量中设置,然后在这里读取到程序中
config :ueberauth, Ueberauth.Strategy.Google.OAuth,
  client_id: System.get_env("GOOGLE_CLIENT_ID"),
  client_secret: System.get_env("GOOGLE_CLIENT_SECRET")
- 调整用户数据表
记得将下面内容中的
XXXXX替换为你的应用名
在 lib/dokuya/accounts/user.ex 文件中追加:
schema "users" do
  ...
  field :is_oauth_user, :boolean, default: false
  ...
end

# 你可以根据你的实际user情况,调整这里的字段。
def oauth_registration_changeset(user, attrs, opts \\ []) do
  user
  |> cast(attrs, [:email])
  |> validate_required([:email])
  |> validate_email(opts)
  |> put_change(:is_oauth_user, true)
end
新增加了 schema 字段后,记得也创建一个新的数据库迁移文件:mix ecto.gen.migration add_is_oauth_user_to_users
在新生成的 migration 文件中追加:
defmodule Dokuya.Repo.Migrations.AddOauthUser do
  use Ecto.Migration

  def change do
    alter table(:users) do
      add :is_oauth_user, :boolean, default: false
      # 因为 oauth 登录不需要密码,所以将 hashed_password 字段设置为可空
      modify :hashed_password, :string, null: true
    end
  end
end
然后运行迁移命令:mix ecto.migrate,修改数据库结构。
在 lib/xxxxx/accounts.ex 文件中追加:
def register_oauth_user(attrs) do
  %User{}
  |> User.oauth_registration_changeset(attrs)
  |> Repo.insert()
end
- 追加核心 Controller 代码
在该目录创建一个文件:lib/xxxxxx_web/controllers/google_auth_controller.ex
文件内容如下:
defmodule XXXXWeb.GoogleAuthController do
  require Logger
  use XXXXXWeb, :controller
  plug Ueberauth

  alias XXXXX.Accounts
  alias XXXXXWeb.UserAuth

  def request(conn, _params) do
    Phoenix.Controller.redirect(conn, to: Ueberauth.Strategy.Helpers.callback_url(conn))
  end

  def callback(conn, params) do
    create(conn, params, "Welcome back!")
  end

  # google login
  defp create(%{assigns: %{ueberauth_auth: auth}} = conn, _params, info) do
    email = auth.info.email

    case Accounts.get_user_by_email(email) do
      nil ->
        # User does not exist, so create a new user
        # 因为我只需要 email,所以这里只传递 email,其实 auth.info 中有更多用户相关的信息可以使用。
        case Accounts.register_oauth_user(%{
               email: email
             }) do
          {:ok, user} ->
            Logger.info("Google login success: #{inspect(user)}")

            conn
            |> put_flash(:info, info)
            |> UserAuth.log_in_user(user, %{"remember_me" => "true"})

          {:error, changeset} ->
            Logger.error("Failed to create user #{inspect(changeset)}.")

            conn
            |> put_flash(:error, "Failed to create user.")
            |> redirect(to: ~p"/")
        end

      user ->
        # User exists, update session or other details if necessary
        conn
        |> put_flash(:info, info)
        |> UserAuth.log_in_user(user, %{"remember_me" => "true"})
    end
  end
end
- 增加新的路由
到 lib/xxxx_web/router.ex 中追加
  scope "/auth", DokuyaWeb do
    # 记得追加这一步,否则登录过程中会 fetch_session 相关的错误。
    pipe_through :browser

    get "/:provider", GoogleAuthController, :request
    get "/:provider/callback", GoogleAuthController, :callback
  end
- 最后一步,将登录按钮放到你的任何像放置的页面上:
<.button href={~p"/auth/google"}>Login with Google</.button>
大功告成。现在用户可以通过 Google 登录方便地访问你的网站。